Beef

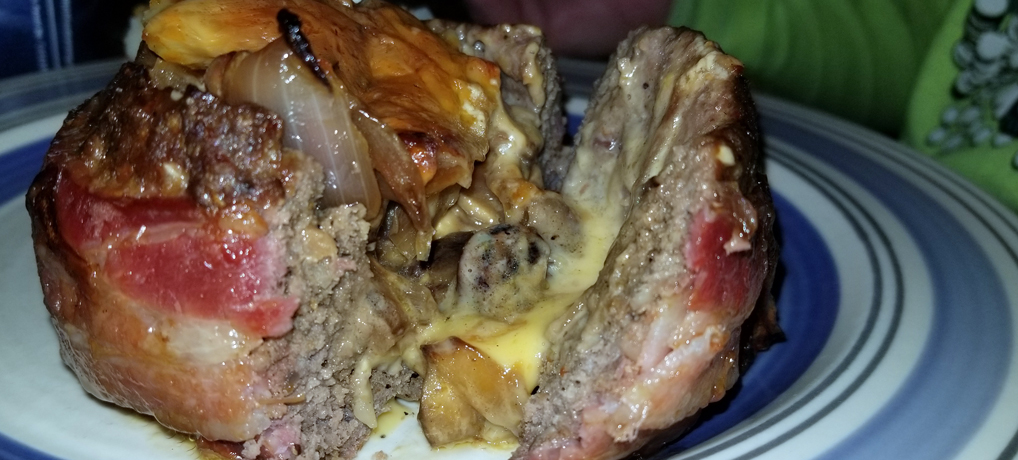
Beer Can Bacon Burgers

Beer can. Bacon. Burgers. Let those words sink in a second and what thoughts come to mind? The most obvious thoughts, bacon and burgers, but where does the beer can fit in to this equation? That’s exactly what I thought when my wife mentioned it to me after coming home from work another great grilling idea. I asked her to contact the gentleman that made them and told her about them for instructions. He was happy to oblige, but over text messaging I had a hard time grasping the concept. I decided to give it a try!

Fresh off the grill and straight to the table! I hope they taste as good as they look!

Using the can! Forming the burger around the beer can takes a little bit of work, but it's worth it.

Creating these isn’t difficult at all. First, take your ground beef (I suggest 80/20 to retain the moisture) and season it as if you were going to make cheeseburgers on the grill. Make a meatball between ½ and ¾ pounds. Next, take the beer can (use an opened beer for sturdiness) and begin to form the burger around the bottom of the can. I found it easier to turn the can over and form it.

Turn the can back over where the mean is now on your counter and press the can down while holding on to the meat. Press all the way until the can feels like it is hitting the counter and continue to work the burger up the side of the can. I kept the walls of the burger about ¼ of an inch thick, maybe slightly less.

Forming the burger around the beer can and wrapping it with bacon.

Next, I took two strips of bacon and wrapped them around the burger. The first strip on the bottom flush with the counter, the second above the first. Once the bacon is secured (don’t worry, it adheres to the burger really well) I used a paper towel to grip the can and carefully slid it out of the burger. The result was a pocket beautifully wrapped with bacon. This thing wasn’t even filled with anything yet but the idea was making my mouth water!

Here is where the creativity comes in! You can fill the pocket with just about anything you want!! Think of whatever toppings you like on a burger and put them in the pocket! This is a stroke of genius!! For me and my wife’s burgers I added a couple of chunks of Velveeta cheese to the bottom of the pocket, then a couple of sliced jalapenos, a handful of caramelized onions and mushrooms, and topped it with a few pieces of colby-jack jalapeno cheese. For my son’s burger, I added a couple of piece of bacon to the bottom of the pocket, followed by chunks of Velveeta, topped with bacon bits, and topped with colby-jack jalapeno cheese.

I set up my Weber E410 gas grill for indirect cooking, and placed the burgers on for an hour and 15 minutes. I cooked them a little too much at that temp for that long as they turned out a little dry, so the next batch will only get an hour and slightly lower temps. The results, even for being a tad bit dry, where AMAZING!!!!

I let them rest for about 5 minutes and then we dove in!! After the first bite I had to ask myself “where has this thing been all my life!!??” They were that good!! With all of the possibilities that can be added to the pocket, I will definitely make these again and again!! They are a great addition to the household menu!


Latest Notes

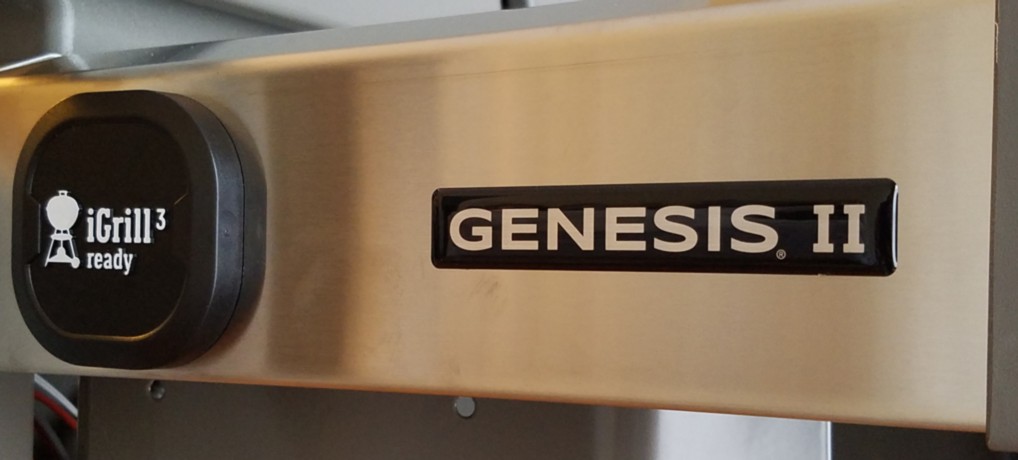
Assembling A New Genesis II E-410!

Not only do we enjoy smoked meat at our house but we grill out a lot! Weather doesn’t bother me when it comes to grilling as I’m out there in the snow and rain cooking something delicious! I don’t care if it’s 20 degrees outside! When my wife and I get the urge for grilled chicken or a burger I’ll fire up the grill and put my coat on!

Unfortunately, nothing lasts forever and all of the grilling and weather was taking its toll on my old faithful Brinkmann gas grill, and with the company going out of business it was getting increasingly difficult to find new burners. It finally got to the point where I had two hot spots on the entire grill so I decided to get a new one but I was going to wait until spring. I was going to use the remainder of winter to shop and compare different grills. However, my wife had other plans as she knew that I had been looking at grills for a while and was really leaning towards a Weber when she surprised me ordered a new Weber Genesis II E-410 for Christmas!

Delivery

She had it delivered to our house so that I could assemble it. Let me just apologize to the delivery company now! That box was 190lbs, and it was on a wooden pallet, so I’m sure that whoever delivered it wasn’t happy. I didn’t want to assemble it outside because I didn’t want to drop anything during assembly and the weather wasn’t cooperating very much. My son and I took it off of the pallet and into the house where I could put it together on Saturday. My daughter came to visit and became my assistant for the day.

Assembly

The box shows a picture of two people lifting the firebox and lid out. That, I discovered, is there for a reason! The firebox and lid are heavy, and the lid is the heaviest piece of the grill, so it was great to have an extra set of hands as I don’t think that I would have been able to do it on my own. I laid everything out to make it easier to find and read through the installation instructions to familiarize myself with the assembly. Overall, assembly took about an hour and half.

I was surprised to find that Weber ships plastic washers that are used with the screws. I can’t help but wonder how long will they last given the heat of summer. It makes me think that they will break in a few years causing the grill to become wobbly. With Weber’s reputation as building solid, long lasting grills I would have thought that metal washers would have been included especially when you consider the price of Weber grills.

Another thing that I found odd is that the tank storage is held together by just sliding down the sides into little slots and plastic rivets holding them in place. While it seems firm now, as with the plastic washers I mentioned, how long will these rivets last making the sides even more flimsy? In the future, if they do fall out I’ll just put a nut and a bolt in their place to hold the sides in place. But in my opinion Weber shouldn’t have skimped on a few cents worth of hardware.

I will say, however, that even with the use of plastic washers and rivets the grill is as solid as an Army tank! I was very impressed with how sturdy it feels now and I hope that it stays that way for years to come. I was also impressed with how easy the lid opens given its weight. Just shows that the engineers at Weber know more than I do about designing these things!

Initial Burn-In

The GS4 Infinity Ignition System is amazing out of the box! After hooking up my LP tank, I turned a burner to the ignition point, pressed the button, and in one click the burner ignited. That’s what a gas grill should do! Weber recommends setting all burners to their highest setting for at least 20 minutes on the first ignition and letting it get as hot as possible to burn off any residue on the inside. I debated on seasoning the grill or not and decided not to so I just fired it up and let it get as hot as it could get. 20 minutes later, it was up to 600 degrees with an ambient temperature of 50.

First Grill

The following day all of the family was over and the discussion turned to what should we have for dinner and it ultimately ended with cheeseburgers, perfect for the first cook! After prepping the burgers, firing up the Weber and letting it come up to what I thought would be the optimal temperature (300 degrees) I lifted the lid and was very impressed with how even the heat felt across the grates using the old “hand-hover” method. It was amazing to feel heat everywhere, something that I don’t remember feeling before on cheaper gas grills that I have owned in the past. The burgers turned out amazing, and maybe I cooked them with the heat a bit higher than I was used to, so I’ll have to adjust that for the future.

Overall Thoughts

I’m thrilled to have added another Weber product to my backyard BBQ arsenal! The Genesis II E-410 looks great, is solid and sturdy, and heats up quickly. Even the wheels feel smooth and sturdy and it rolls around with ease! I’m hoping that it will provide years of great grilling, and because it’s a Weber, I know that I’ll be able to get replacement parts for it in the future. With a 10 year limited warranty, I’m hoping that I won’t need parts anytime soon. I wish that Weber would have included a grill cover with it like they did for my Smokey Mountain Cooker, especially considering the price of the grill and the cover itself! Guess I have another purchase to make.