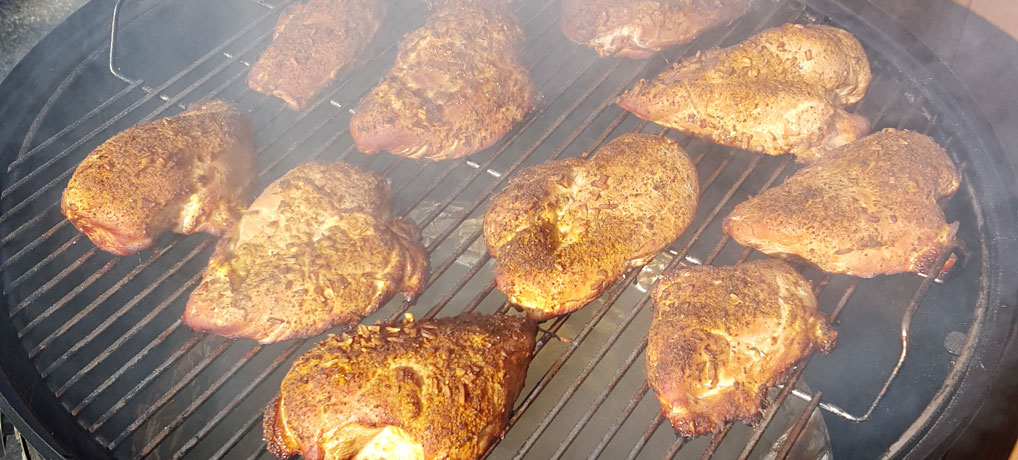
Smoked Chicken Breasts
We love chicken in our house! It’s so versatile and flavorful that there really isn’t a bad way to[…]
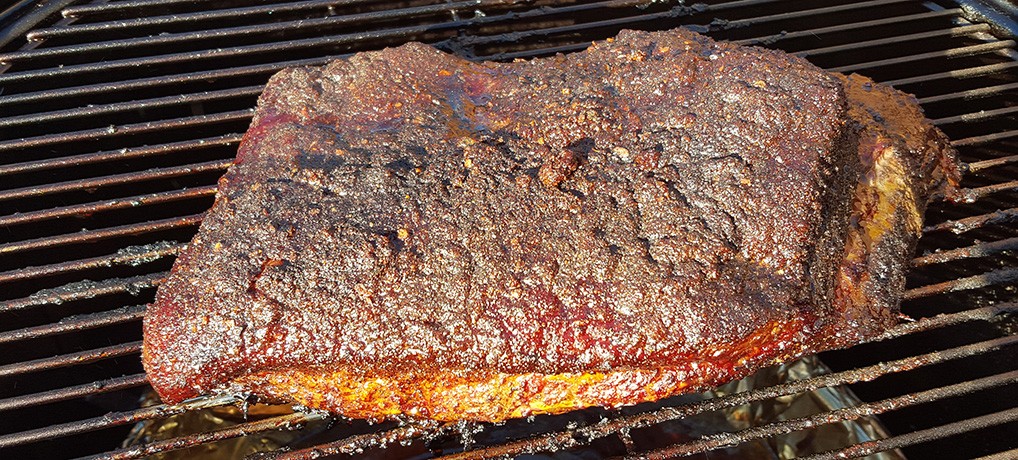
First Smoked Brisket
My confidence was getting better with my smoker, and I knew that I had to try the “holy grail”[…]
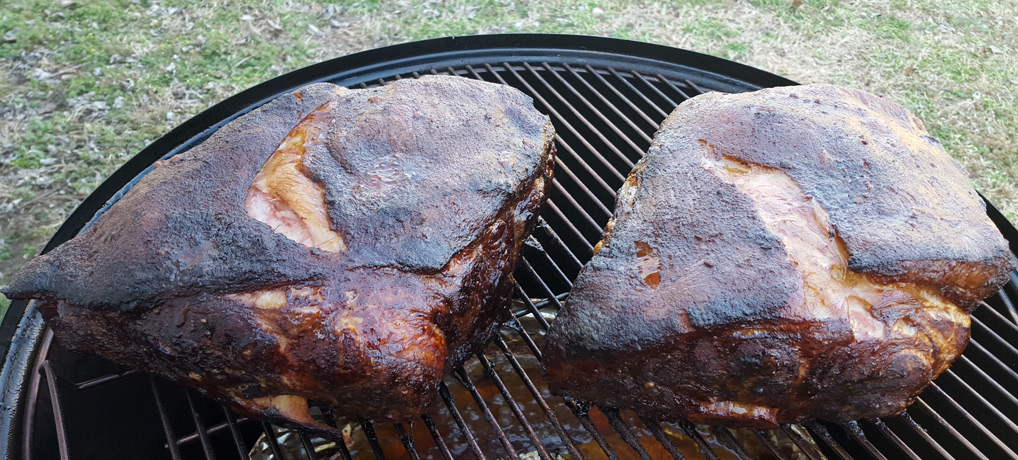
First Try At Smoked Pork Shoulders
After having seasoned my smoker and following the suggestion of a good friend to smoke a whole chicken first (I[…]
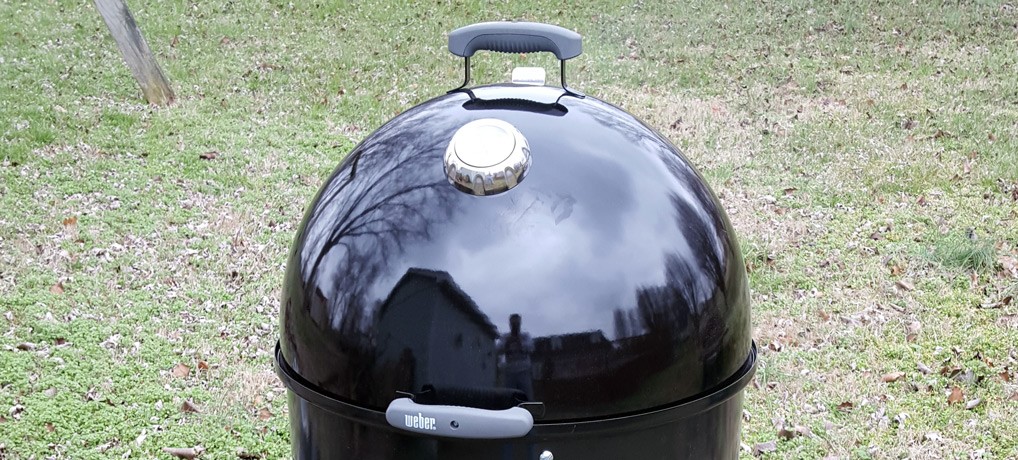
Seasoning My Smoker
After receiving my Weber Smokey Mountain cooker for Christmas, I finally got a decent break in the weather to[…]
Never thought of that David, but it makes perfect sense. Thanks for the tip!