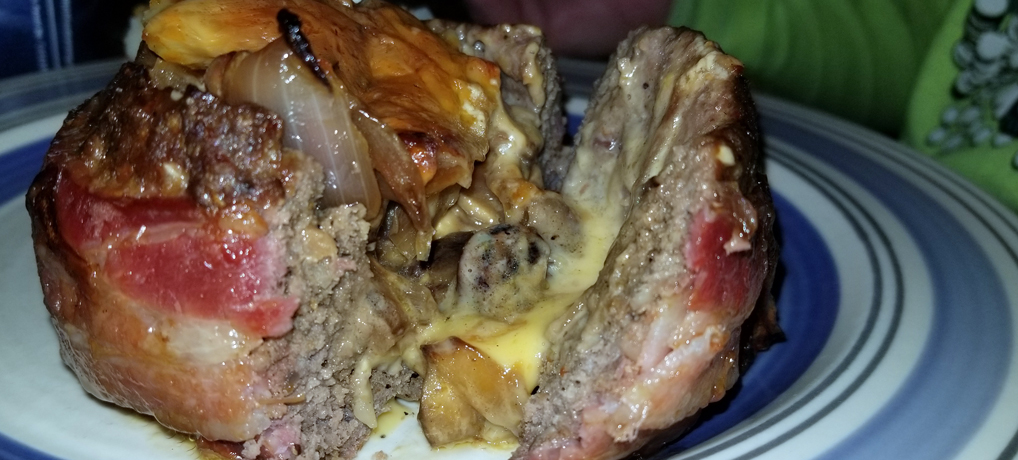
Beer Can Bacon Burgers
Beer can. Bacon. Burgers. Let those words sink in a second and what thoughts come to mind? The most[…]

Smoked Chicken Wings
It’s getting to be that time of year again, the time when football is all everyone talks about in[…]
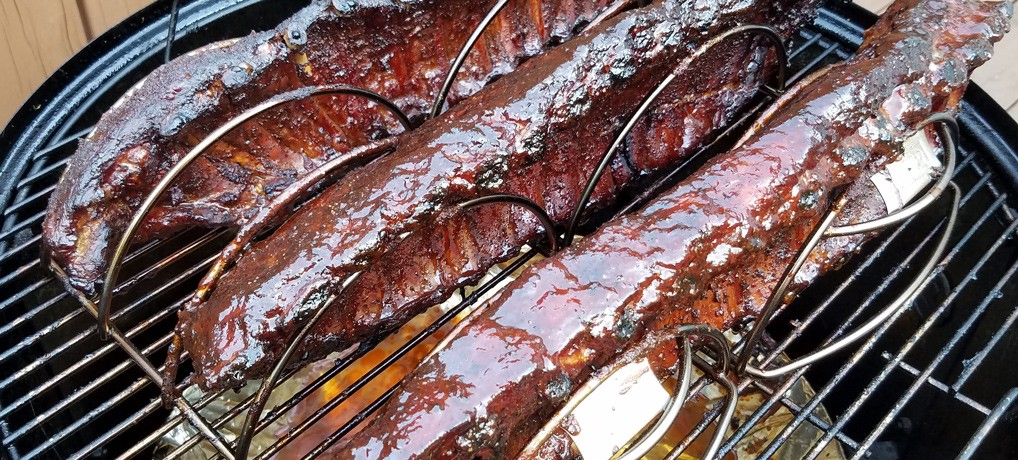
First Pork Ribs Experiment
Pork ribs! Just hearing it said out loud can make your mouth water with thoughts of messy deliciousness sticking[…]
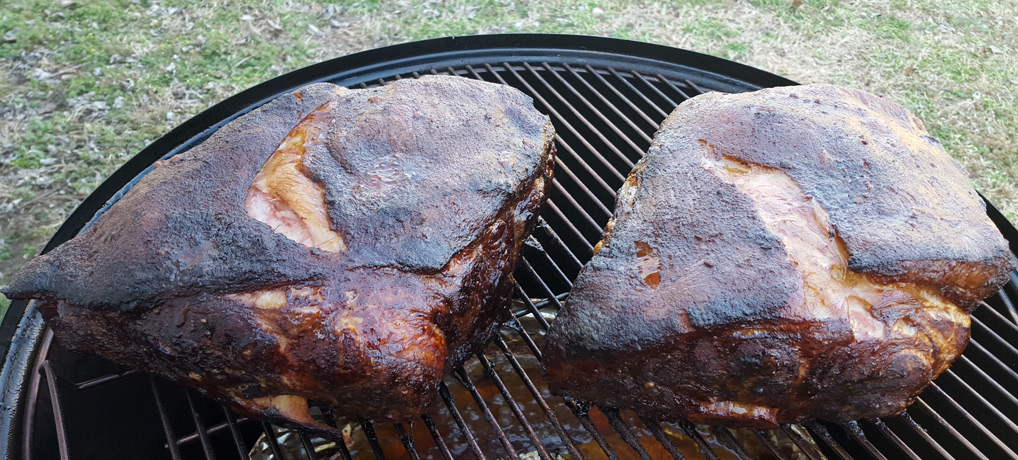
First Try At Smoked Pork Shoulders
After having seasoned my smoker and following the suggestion of a good friend to smoke a whole chicken first (I[…]
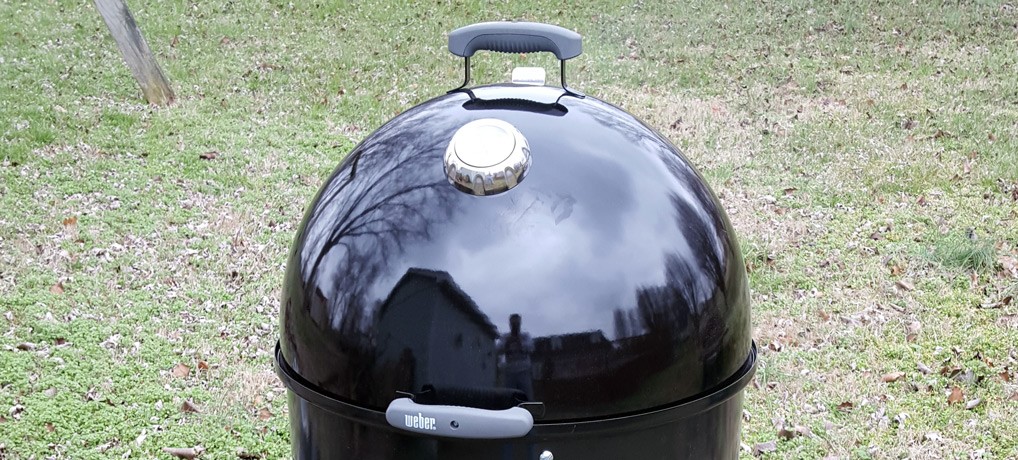
Seasoning My Smoker
After receiving my Weber Smokey Mountain cooker for Christmas, I finally got a decent break in the weather to[…]
Never thought of that David, but it makes perfect sense. Thanks for the tip!